
How to Apply Painter's Tape
Here are a few easy steps to follow when applying painter’s tape to get the best results.
Painter’s tape is the key to helping you achieve the clean, sharp lines that are the hallmarks of a pro paint job. But for painter’s tape to help you do the job, it needs to be used correctly. Follow these steps to be sure you’re applying tape the right way.
1. Clean your painting surface.
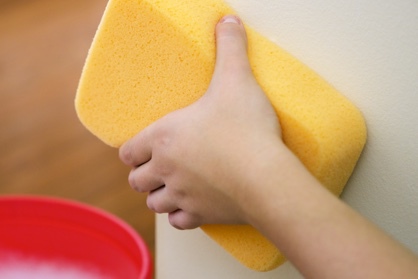
- Sponge the walls with a mild detergent, cleaning from floor to ceiling.
- Clean thoroughly around air vents
- Make sure the walls are dry before you apply the tape.
- Use the right tape for the job.
2. Use the right tape for the job.
- Choose a tape that adheres quickly with a good seal – and one that will be easy to remove.
- Some tapes are designed for specific surfaces … and don’t play well with the surfaces they aren’t made for.
- Read the instructions and select your tape carefully.
3. Apply Tape
- For easier application, you don’t have to apply one long strip of tape
- Tear off one-foot lengths of tape for better control and better adhesion to surface.
