How to Remove Painter's Tape
Proper tape removal can help eleviate the frustration of having to re-paint and get the finished look you hoped for. Here are some tips to help.
How you remove your painter’s tape can be just as crucial as applying it. Proper tape removal can mean the difference of between perfection and a re-paint. So follow these tips carefully.
1. Know when to remove
- Some tapes can be left on the painting surface for more than a week; but this isn’t common.
- Make sure you pay attention to how long the painter’s tape should be left on the surface.
- For best results, remove tape as soon as you’re done painting; this will keep it from hardening and peeling away parts of your paint job.
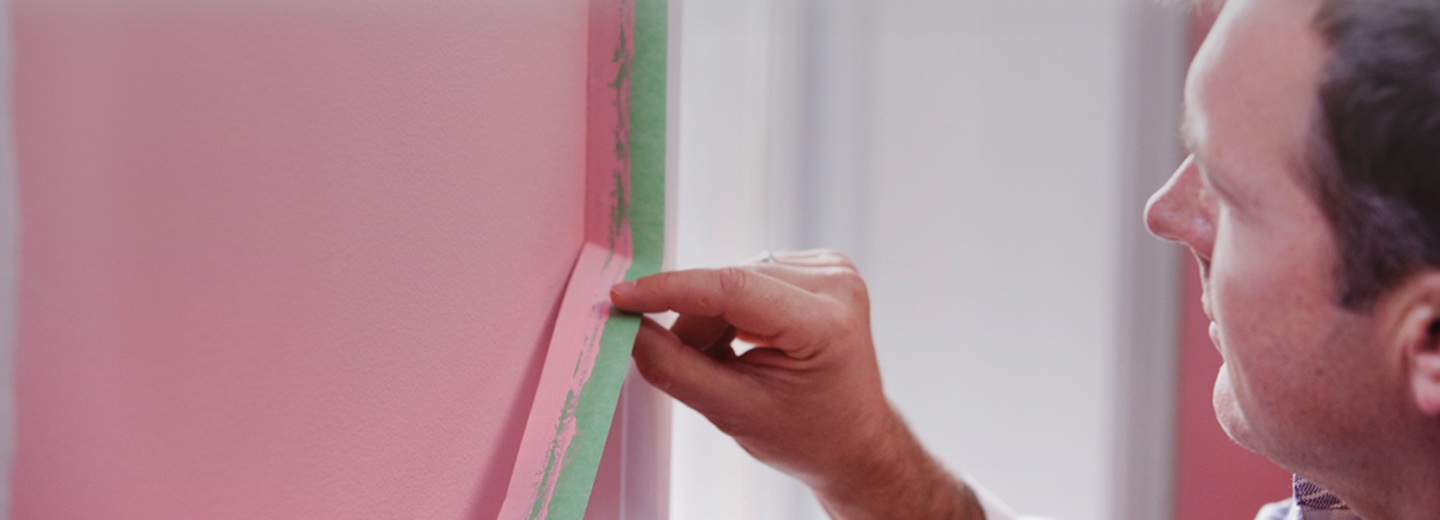
2. It's all about the angle
- When you remove the tape, slowly pull it toward yourself at a 135 degree angle.
3. If the paint is dry ...
- What if you’re busy on another part of your project and the paint dries before you can remove the tape? Don’t panic.
- Be aware that the tape may not be easy to remove, so don’t just try to pull it off quickly – this could cause paint to come away with the tape and cause an uneven line.
- Carefully use a razor blade to cut the bond between the dried paint and your tape.
4. Multiple coats mean multiple tape jobs
- You may require several coats of paint to complete a job – this means you’ll need to re-tape.
- For the best results, do not leave tape in place as the first coat dries; remove it and re-tape the job to prepare for the second coat.
5. Clean up
- There may be tape residue left on the surface; this can be fixed.
- Use a sponge and a mild detergent, soap and water, window cleaning fluid, or a citrus-based cleaner and gently remove the residue.
- Be sure paint is completely dry before removing residue.